Lesson 3: Drawing in Game Lab
Overview
Question of the Day: How can we communicate to a computer how to draw shapes on the screen?
Students are introduced to Game Lab, the programming environment for this unit, and begin to use it to position shapes on the screen. They learn the basics of sequencing and debugging, as well as a few simple commands. At the end of the lesson, students will be able to program images like the ones they made with the drawing tool in the previous lesson.
Purpose
The main purpose of this lesson is to give students a chance to get used to the programming environment, as well as the basic sequencing and debugging that they will use throughout the unit. Students begin with an introduction to the GameLab interactive development environment (IDE), then learn the three commands (rect, ellipse, and fill) that they will need to code the same types of images that they created on paper in the previous lesson. Challenge levels provide a chance for students who have more programming experience to further explore Game Lab.
Assessment Opportunities
-
Use a coordinate system to place elements on the screen.
See level 10 in Code Studio, in particular the placement of the square in the picture.
-
Sequence code correctly to overlay shapes.
See level 10 in Code Studio, in particular that the square is displayed in front of the circles.
Agenda
Lesson Modifications
Warm Up (5 min)
Activity (30 min)
Wrap Up (10 min)
View on Code Studio
Objectives
Students will be able to:
- Use a coordinate system to place elements on the screen.
- Sequence code correctly to overlay shapes.
Preparation
- Read the Forum
- Prepare projector or other means of showing videos if you wish to watch as a class
Links
Heads Up! Please make a copy of any documents you plan to share with students.
For the Teachers
- Drawing in Game Lab - Slides
Vocabulary
- Bug - Part of a program that does not work correctly.
- Debugging - Finding and fixing problems in an algorithm or program.
- Program - An algorithm that has been coded into something that can be run by a machine.
Introduced Code
Teaching Guide
Lesson Modifications
 Attention, teachers! If you are teaching virtually or in a socially-distanced classroom, please see these modifications for Unit 3.
Warm Up (5 min)
Programming Images
Discussion Goal
Goal From Unit 2, students may remember that a computer can only understand what to do if you use a particular language in order to communicate with it. For Web Development, that language was HTML. Computers can't "figure out" what you mean in the same way that a human can, and they are usually much more specific in how they follow instructions.
Prompt: Based on what you know about computers, what do you think will be different between telling a person about your image and telling a computer about your image?
Share: Allow students time to think individually and discuss with a partner, then bring the class together and write their ideas on the board.
Remarks
In order to give instructions to a computer, we need to use a language that a computer understands. In the last unit, we used HTML, which is great for making web pages. To make our animations and games, we will use a version of Javascript that uses blocks. The environment that we'll be programming in is called Game Lab.
Question of the Day: How can we communicate to a computer how to draw shapes on the screen?
Activity (30 min)
Teaching Tip
Pair programming is a great way to increase student confidence and foster the practices of collaboration and communication. You can read more about how to use Code Studio's pair programming feature here.
Simple Drawing in Game Lab
Group: Place students in pairs to program together.
Transition: Send students to Code Studio.
Teaching Tip
Students that are new to programming often have some common misconceptions they run into. In order to prevent those, keep reminding students about the following things:
- One command per line
- Commands run in order from top to bottom
- Order of inputs into shape commands matter
- Each input into shape commands are separated by commas
- (0,0) is in the upper left corner of the display
- All x and y values on the display are positive
Support: As students work on the levels, you can help them, but encourage them to try to spend some time figuring things out themselves first. If you need help supporting students, see the exemplars in the teacher answer viewer. When students hit the challenge levels, they can choose to pursue one or more of the challenges, return to improve upon previous levels, or help a classmate.
Share Drawings
Share: Once students have completed their drawings, have them share with the class. One way to do this is with a gallery walk.
Wrap Up (10 min)
Question of the Day: How can we communicate to a computer how to draw shapes on the screen?
Prompt: Today you learned how to draw in Game Lab for the first time. What type of advice would you share with a friend who was going to learn about drawing in Game Lab to make it easier for them?
Share: Allow students to share out their responses with the class.
- Lesson Overview
- 1
Teaching Tip
Drawing in Game Lab - Part 1 - (video - download as mp4)
Drawing in Game Lab - Part 2 - (video - download as mp4)
Drawing in Game Lab - (Map Level - download as pdf)
Student Instructions
- Introduction to Game Lab
- 2
Teaching Tip
Tour of Game Lab
Depending on the age and comfort level of your students, you may choose to use this level to tour the environment as a whole class. Make sure that students can find the level instructions, coding area, display area, and block drawers. This is also a good opportunity to point out some of the useful resources like documentation and the blocks to text button.
Student Instructions
Explore Game Lab
Welcome to Game Lab, where you can create interactive animations and games!
You've already practiced the basics of putting shapes on a grid. In Game Lab, you'll do the same with the display area on the left.
Do This
- Look at the line of code in the workspace below these instructions ( Show me where ) and discuss with your partner where you think the shape will be drawn on the grid.
- Click
 to run the program and see what happens.
 - Change the numbers inside the block, then try running the program again.
- Try to place the rectangle near the bottom right of the screen.
- Video: Drawing in Game Lab - Part 1
- 3
Teaching Tip
Discussion Goals
Make sure students understand how to access the block documentation by clicking on the blocks inside the toolbox and clicking "see examples".
As students think of ideas of why they might prefer to use block mode, make sure that they understand that the block-based version of the programming language is just as legitimate as the text-based version. Students may offer that blocks make it easier to remember the exact commands or that they don't have to worry about the details of the parentheses or semicolons.
(Alternatively, advantages to text might be that it's easier to edit or that the text takes up less space.)
Student Instructions
Questions to Consider
- Where can you find more information about how to use the blocks?
- What’s an advantage of using block mode?
- Using the Grid
- 4
Student Instructions

Place Squares in Corners
A big part of using Game Lab is understanding position. Remember you can always turn on the grid or hover with the mouse to help find the x and y position you want.
Do This
- Place two rectangles exactly in the corners of the screen, just like the picture.
- Video: Drawing in Game Lab - Part 2
- 5
Teaching Tip
Discussion Goals
Stroke controls the border color of the shape, and fill controls the color inside of it.
Student Instructions
Questions to Consider
- What’s the difference between stroke and fill?
Student Instructions

fill(color)
You can also make your rectangles different colors with fill. It will set the color for every shape that comes after it in the code.
Do This
- Look at the code that sets the color. ( Show me where )
- Change the color from blue to yellow.
- Add a new square by dragging a
rectblock into the code area below the fill command ( Show me where ). The new square can go any location on the screen you like.
Student Instructions

Order Matters
In Game Lab, it matters what order your code is in. New shapes are drawn on top of the ones that came before, covering up the shapes that are drawn first. You can see the difference when you use more than one color in your code.
Do This
- Look at the code that draws the two rectangles. The first is drawn red, and the second is drawn blue.
- Change the red rectangle's color to green.
- Change the order of the code so the green rectangle appears on top.
Student Instructions

ellipse
You can use ellipse to make a circle.
Do This
- Look at the code that makes the ellipse.
- Add a new ellipse of a different color.
Student Instructions
Do lots of practice!
Choose from the following activities:
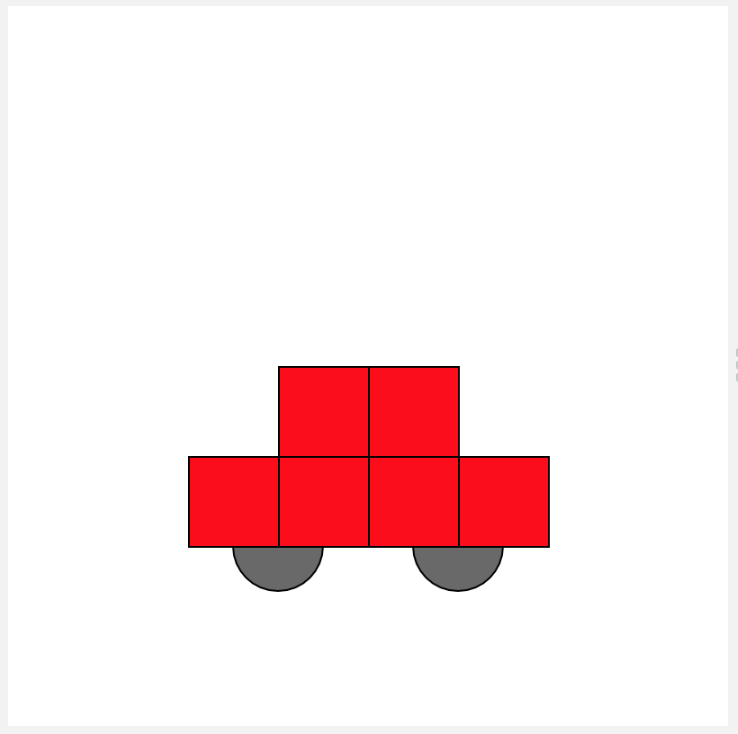
Debug this code so that the wheels appear.
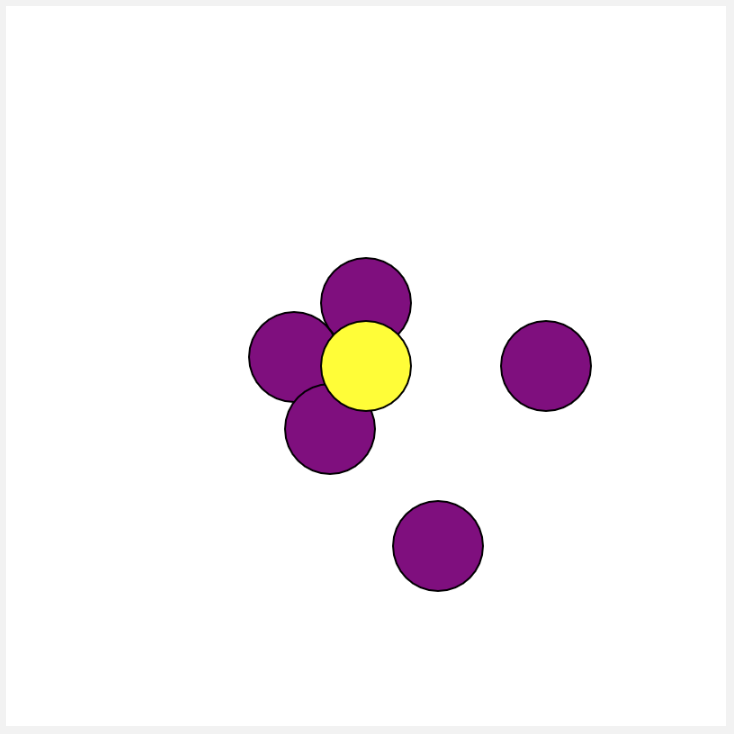
Move the fallen petals back to the flower.
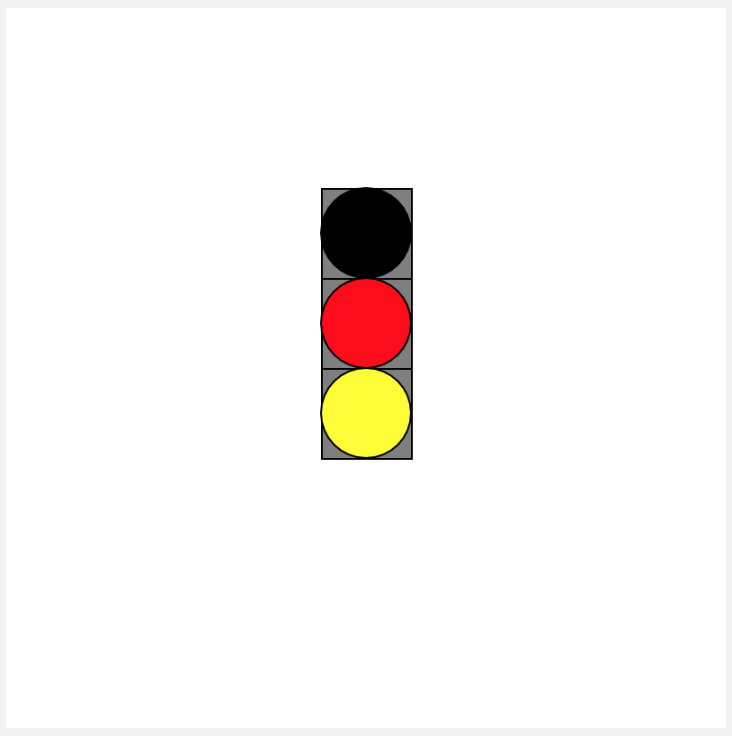
Fix the stoplight so that all colors are visible.
Teaching Tip
This debugging task tests the student's ability to sequence code correctly.
Student Instructions

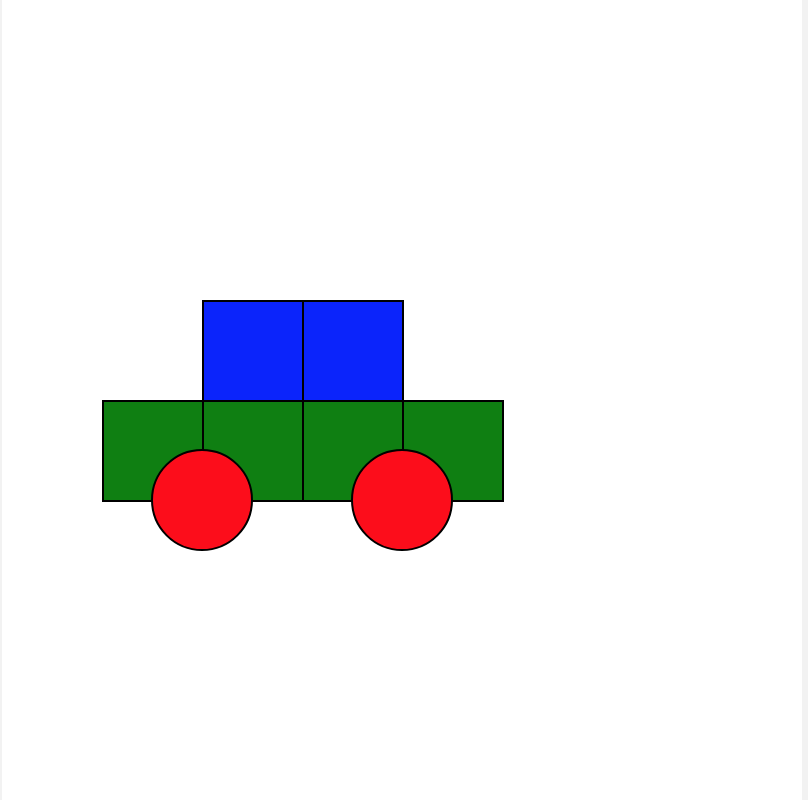
Debugging: Fix a car
Oops, the red part of the car is hiding the wheel! Fix the program to match the picture on the right.
Do This
- Read the code that makes the car.
- Change the code so the wheels are visible.
Teaching Tip
This debugging task helps students understand how to place elements on a screen using a coordinate plane.
Student Instructions

Debugging: Attach the petals
Uh oh, the flower is missing some petals. Bring them together with the center of the flower to recreate the picture on the right.
Do This
- Look at the code that makes the flower.
- Change the code so that all the petals are attached to the center of the flower.
- Hint: use the grid to figure out where the petals should be
Teaching Tip
This debugging task tests the student's ability to sequence code in regards to the fill command.
Student Instructions

Debugging: Fix the stoplight
This stoplight is all mixed up. Fix it so that it looks like the picture on the right.
Do This
- Read the code that makes the stoplight.
- Change the code so the colors are correct.
- Assessment
- 10
Assessment Opportunities
Use a coordinate system to place elements on a screen, accounting for object size and overlay.
Extensive Evidence
The programmatic drawing is identical to the example and in contained within the seven lines of code.
Convincing Evidence
The programmatic drawing is mostly the same as the drawing, but there may be some slight positioning errors, and there may be extra lines of code.
Limited Evidence
The square has been moved, is purple, and appears in front of the circles.
No Evidence
The picture is either the same, or any changes appear to be unrelated to the assignment.
Teaching Tip
This is a good puzzle to use as an assessment of whether or not students understand the basics of sequencing and positioning shapes in Game Lab.
Student Instructions

Debugging
Often, code doesn't work the first time it runs, and programmers have to debug it. The code below is supposed to make the picture on the right, but the programmer got confused about which order the code should be in, as well as how to put a square in the right place on the screen.
Do This
- Look at the code in the workspace.
- Change the code so it makes the picture on the right.
- (You'll need to move one line of code AND change the coordinates of the square.)
Student Instructions
Try out some challenges!
Choose from the following activities:
Learn how to draw dots on the screen.
Make the dots bigger using strokeWeight.

Make shapes that you can see through using noFill.
Recreate an image from last lesson.
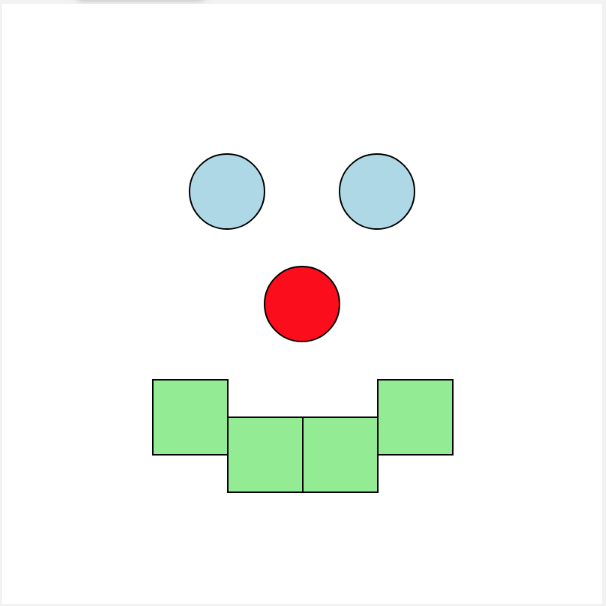
Make a face out of shapes.
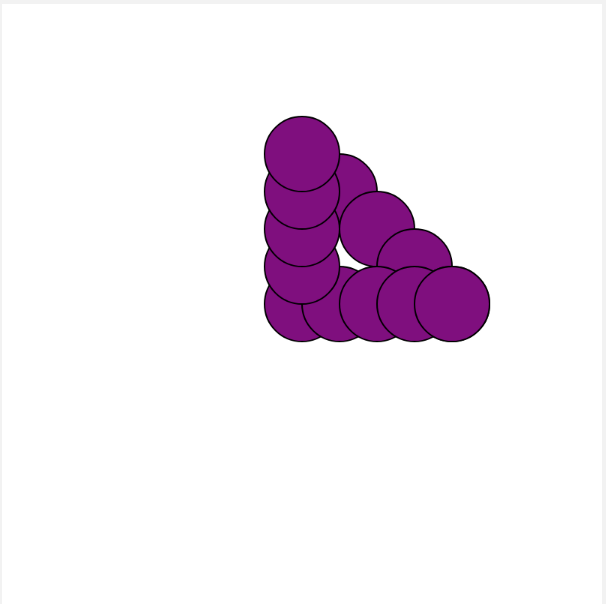
Make a triangle out of circles.

None
Teaching Tip
This task introduces students to the point block.
Student Instructions

Points!
There's a new block that lets you draw a single point on the screen. (strokeWeight controls how big the point is.)
Do This
- Read the code that makes the picture.
- Use the
pointblock to finish the code so it matches the picture.
Teaching Tip
This task gives students practice with the strokeWeight block.
Student Instructions

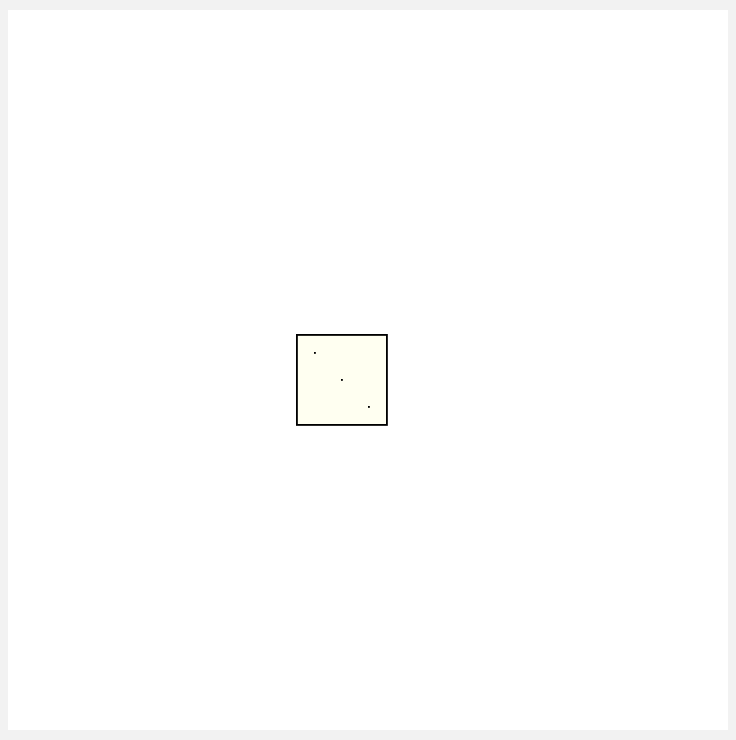
Points and Stroke Weight
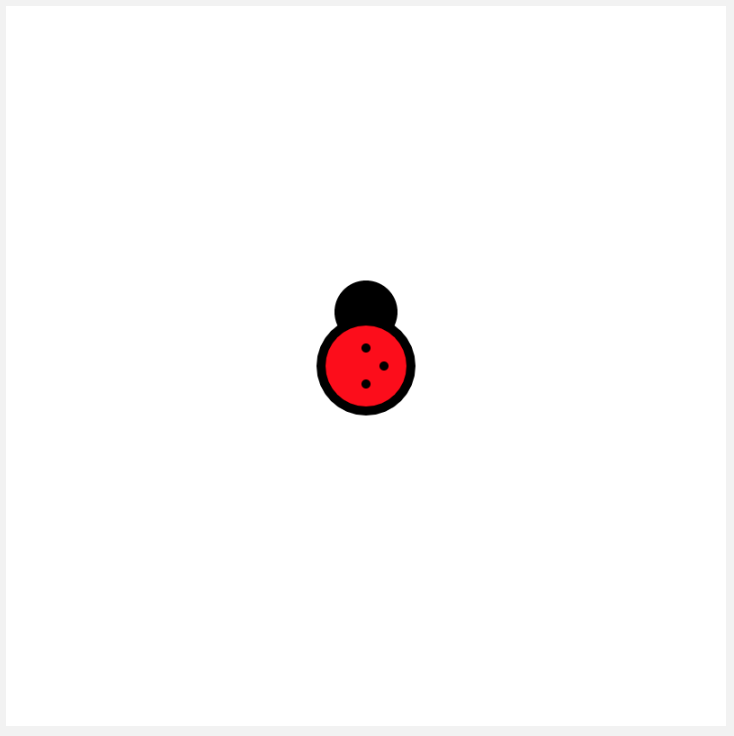
The strokeWeight block can control how big a point is. We can use this block to create a die.
Do This
- Read the code that makes the picture.
- Use the
strokeWeightblock to finish the code so it matches the picture.
Hint: should the strokeWeight block come before or after your point blocks?
Teaching Tip
This task gives students practice with the noFill block.

Student Instructions
Challenge: Draw an Image
In the previous lesson you and your partner created several interesting images. See if you can recreate one of them using code. You can choose any of the images that you created!


Student Instructions
Free Play
Use what you've learned to create whatever you like. When you're finished, you can click  to send your creation to a friend, or
  to send it to your Projects Gallery.
Standards Alignment
View full course alignment
CSTA K-12 Computer Science Standards (2017)
AP - Algorithms & Programming
- 2-AP-13 - Decompose problems and subproblems into parts to facilitate the design, implementation, and review of programs.
- 2-AP-19 - Document programs in order to make them easier to follow, test, and debug.