Circuits and LEDs

Using the numbered pads on the Circuit Playground, you can create circuits of your own that include external components, such as LEDs and buttons. The specifics of how a circuit gets wired depends on the specific hardware you're trying to add, but all circuits will use some combinations of power pins (which provide power), ground pins (which are the end point of a circuit), and numbered data pins (which can either send an output signal, or read an input). Heads up: Some of the data pins are reserved for special functions on the board, so when creating your own circuits, make sure to only use the following pins:
With a Circuit Playground Express board, only use pins "A6", "A5", "A4", "A0", or "A1"
With a Circuit Playground Classic board, only use pins 0, 2, 3, 6, and 12.
Creating LED Circuits
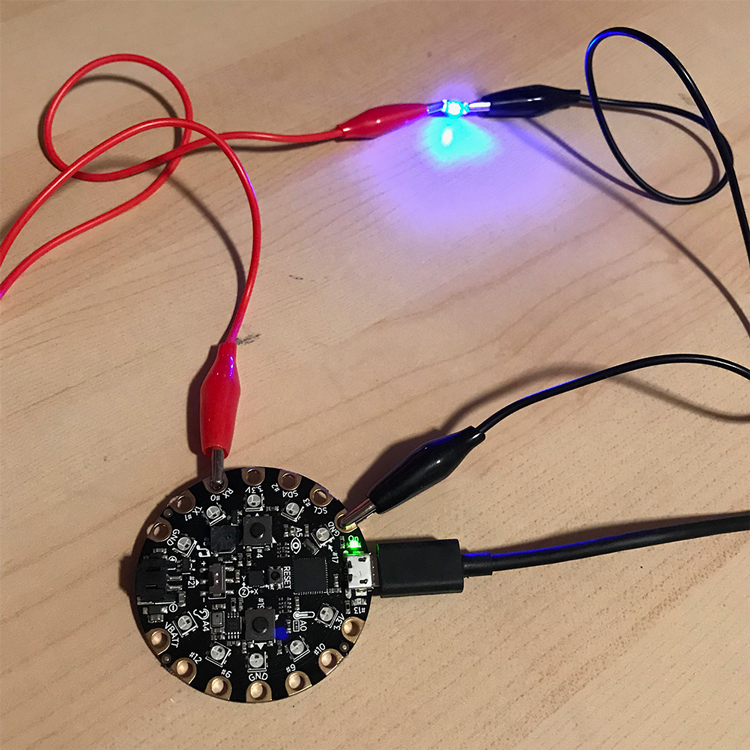
One of the simplest circuits that you can make with your Circuit Playground is to add an LED. To create this circuit you'll need a data pin, two wires, and a ground pin.
- Connect a wire from data pin to the positive (+) side of the LED.
- Connect a different wire from the negative (-) side of the LED to any ground pin.
- Using code, set your chosen pin to "output" and turn it on:
Coding an LED Circuit (Circuit Playground Express)
// Create an LED attached to pin A5
var myLed = createLed("A5");

// Blink myLed
myLed.blink(200);
Coding an LED Circuit (Circuit Playground Classic)
// Create an LED attached to pin 2
var myLed = createLed(2);

// Blink myLed
myLed.blink(200);
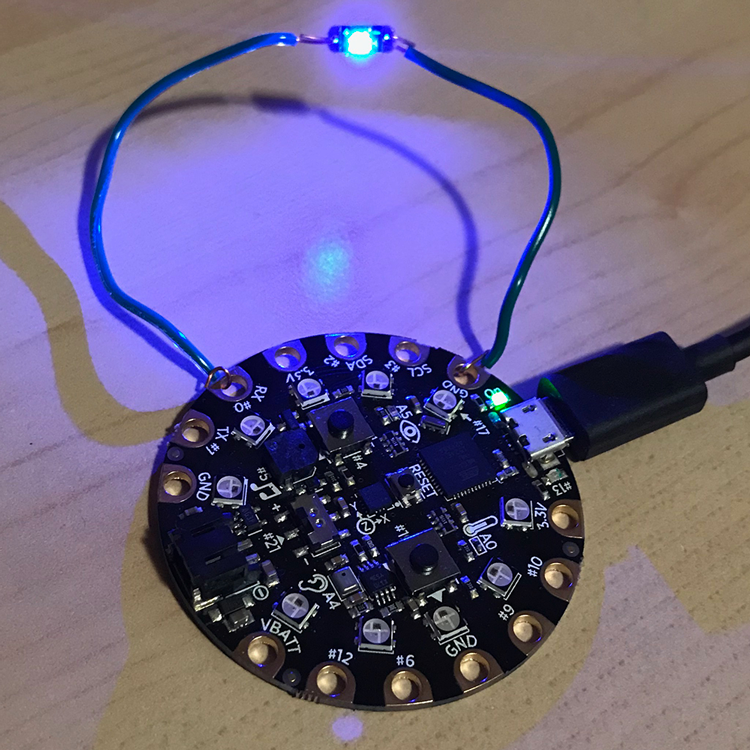
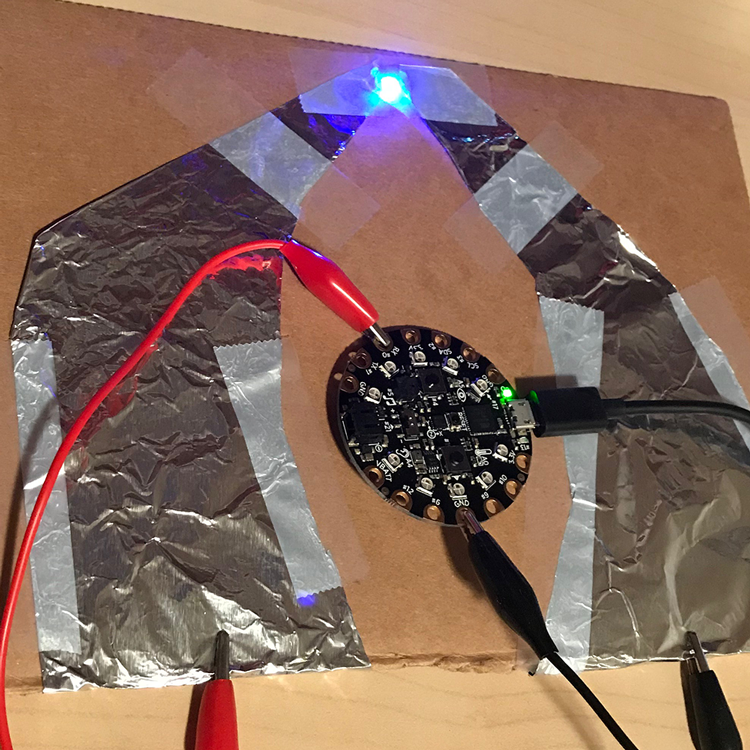
You don't have to use anything fancy to create a simple circuit like this - just about anything that conducts electricity well will do. You can salvage wire from old holiday lights or use aluminum foil for a quick fix, but you can also buy conductive thread that will let you sew your circuits or get copper tape to make bendable circuits on paper.
LED Debugging
LEDs are pretty simple to use, but there are a couple of tricks to keep in mind:
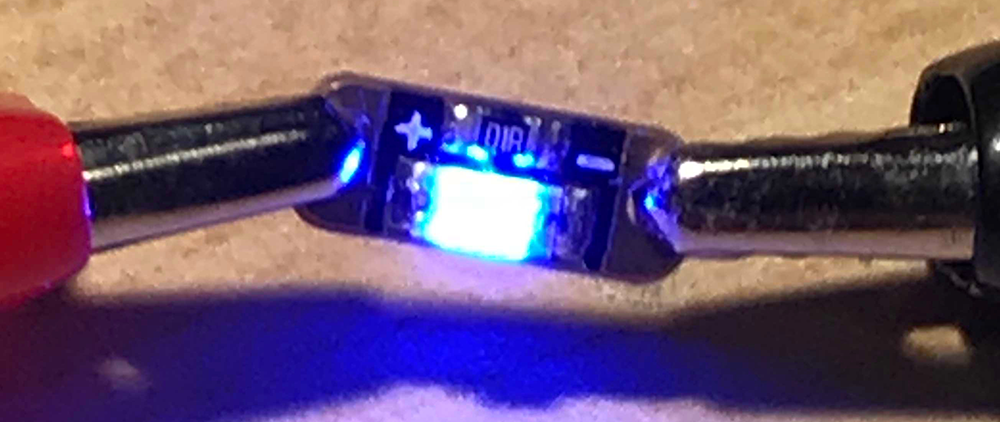
- You need to pay attention to which direction the electricity is flowing, because LEDs only work in one direction. Always connect the positive side of your LED to your power source and the the negative side to ground.
- LEDs need a component called a resistor to make sure they are getting (and taking) the right amount of electricity. LED sequins (like the above image) have a resistor built in, but if you want to use a plain LED you'll need to add a resistor to either side to avoid damaging the board or LED.
Found a bug in the documentation? Let us know at documentation@code.org