Lesson 11: Styling Elements with CSS
Overview
Question of the Day: How can we style the images and layouts of our pages?
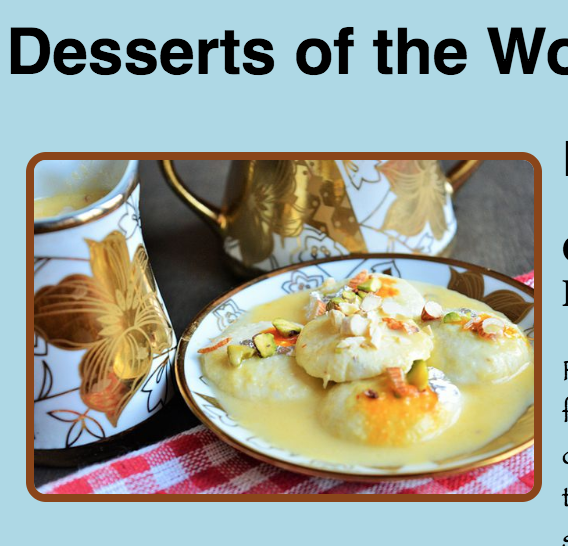
This lesson continues the introduction to CSS style properties, this time focusing more on non-text elements. Students begin this lesson by looking at a website about Desserts of the World. They investigate and modify the new CSS styles on this website, adding their own styles to the page. After working on the Desserts page, students apply their knowledge of new CSS properties to their personal websites.
Purpose
This lesson builds on what students previously learned about CSS properties, this time looking at properties that can be used on elements. These new properties impact the visual look of the web page beyond its text and give students more precise control over the layout of their pages. As students expand their knowledge of style properties, many may have questions about how they can do even more with CSS. Curious students can explore more properties at W3 Schools .
Assessment Opportunities
-
Use CSS properties to change the layout properties of elements.
See Level 8 in Code Studio.
-
Create a CSS rule-set for the body element that impacts all elements on the page.
See Level 8 in Code Studio
Agenda
Lesson Modifications
Warm Up (5 minutes)
Activity (40 minutes)
Wrap Up (5 minutes)
View on Code Studio
Objectives
Students will be able to:
- Use CSS properties to change the size, position, and borders of elements.
- Create a CSS rule-set for the body element that impacts all elements on the page.
Links
Heads Up! Please make a copy of any documents you plan to share with students.
For the Teachers
- Layout Properties - Resource Page
- Body Styling - Resource Page
- Styling Elements with CSS - Slides
Introduced Code
Teaching Guide
Lesson Modifications
 Attention, teachers! If you are teaching virtually or in a socially-distanced classroom, please see these modifications for Unit 2.
Warm Up (5 minutes)
Discuss: What Styles Do You Want?
Display: Send students to the sample web page in Code Studio or display it on the board.
Prompt: What are two CSS styles on this page that you already know? What are two styles on the page that you don’t know how to code yet?
Discussion Goal
Goal: This discussion serves as a review of the CSS properties students have already learned and showcases some of the new properties they will be learning in this lesson. Some of the new properties showcased are:
- Adding background colors to things
- Being able to move things around on the page (the images to the left of the text)
- Being able to add borders to and round corners of images
Discuss: Have students share different stylings on the page.
Remarks
Today we are going to learn more properties we can use to style our web pages, which will allow you to add some of the styles we listed in this discussion.
Question of the Day: How can we style the images and layouts of our pages?
Activity (40 minutes)
Teaching Tip
Pair Programming: Consider using pair programming for some or all of this lesson, in particular as students are learning new CSS properties.
Web Lab: Styling Elements with CSS
Transition: Send students to Code Studio.
Wrap Up (5 minutes)
Question of the Day: How can we style the images and layouts of our pages?
Journal: Have students add the new properties they learned to the CSS Properties page in their journal or the class poster.
Prompt: How might you want to use these new styles in your personal web page?
- Lesson Overview
- 1
- Sample Website
- 2
Student Instructions
Sample Websites
Click the website below to discover some new types of styling for your pages.
| Sample 1 | Sample 2 | Sample 3 |
|---|---|---|
 |
 |
 |
- Exploration
- 3
Student Instructions
Layout and Style
- Look through web page below for new styles.
- Open the style sheet
- With your partner, discuss which parts of the CSS code you think are making the page appear different.
- What makes the entire page blue?
- How are the images positioned to the left of all the other elements?
In the next few levels, you'll be changing and adding new styles on this page.
Student Instructions
Background Color
- Find the code in the style sheet that is making the background of the entire page light blue.
- Change the code to make the page a different color.
- Try to change the background color of just the paragraphs.
Student Instructions
The Body Element
- Find the
bodyrule-set in the style sheet. - Discuss with a partner what you think will happen if you add
text-align,color, or other text properties to thebodyrule set. - Try out some different properties to check your guesses.
Student Instructions
Float
Student Instructions
Width and Height
Student Instructions
Practice your new skills here.
Choose from the following activities:
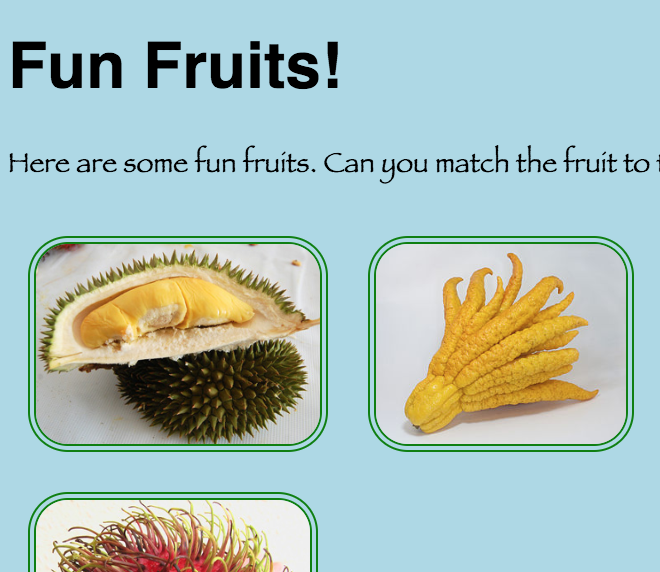
Figure out why the images are not the correct height and debug this page.
Figure out why the images are not the correct height and debug this page.

Figure out what's wrong with the code even though the preview looks like it is correct.

Right now there are very few rules for the body of this page. Add some more to make it look cool!

Fix the issue with images being different sizes from each other.

Make it so the images are next to the text
Student Instructions
Debug the Images
These images are all supposed to be 100 pixels high, but the height property is not working. Find the bug and make the images all the same height.
Student Instructions
Debug the Style
None of the styles are working for this page. Debug the code, then change the styles to something you like.
Student Instructions
Debug the Headings
Everything looks like it's working for this page, but something's not right. Can you figure out what's wrong?
Student Instructions
Add New Rules
The rules for the body right now are not very exciting. Add some more to make it look cool! You can also add or change other rules.
Student Instructions
Change the Width
The images here are all different sizes with some of them way too big. Create a rule that makes the width of all the images the same and sizes them down!
Student Instructions
Change the Position
Move the images using the float property so that they are to the side of the text rather than below it.
- Assessment
- 9
Assessment Opportunities
Create rules that affect entire groups of elements; apply formatting in a web page using CSS.
Extensive Evidence
The background, images, and text have all been styled as described in the instructions. There are no syntax errors or extra code (that does not function) in the stylesheet.
Convincing Evidence
The background, images, and text have all been styled as described in the instructions, but there may be minimal errors or non-functioning code in the stylesheet.
Limited Evidence
Rule-sets have been created in the style-sheet to style the background, images, and text, but there are major errors that prevent the code from working properly.
No Evidence
There are no rule-sets in the stylesheet, or the rule-sets do not have the necessary selectors to style the background or images in the pages.
Student Instructions
Try it out!
Now that you've seen some different ways to style, it's time to try it out yourself. Here's a web page you've seen before, but it needs some style!
Do This
- Give the webpage a background color.
- Make all the images go to the right of the page.
- Make all of the text a different color.
- Add any other styles you want.
Student Instructions
Try extra challenges or learn some new code.
Choose from the following activities:
Create borders around the elements on your page.
Make the corners of your images rounded.
Control the amount of space around each element in your page.
Learn how to add background images using a url.
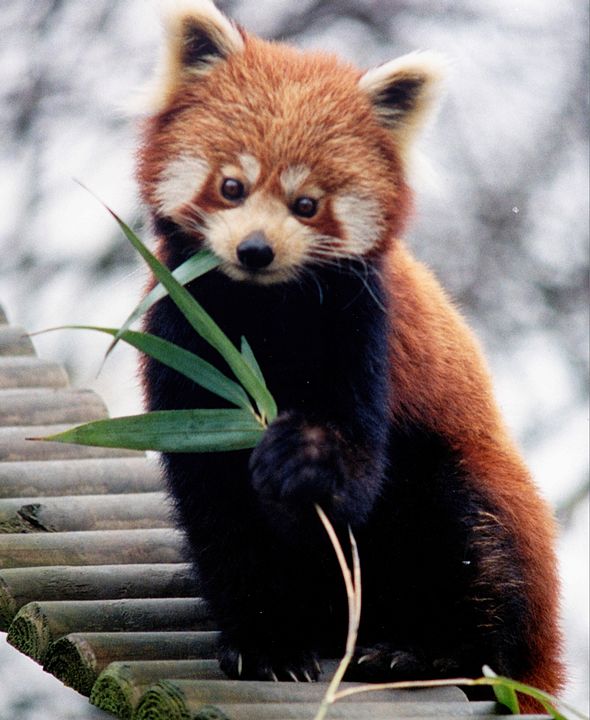
Complete this challenge that asks you to style a web page about animals.
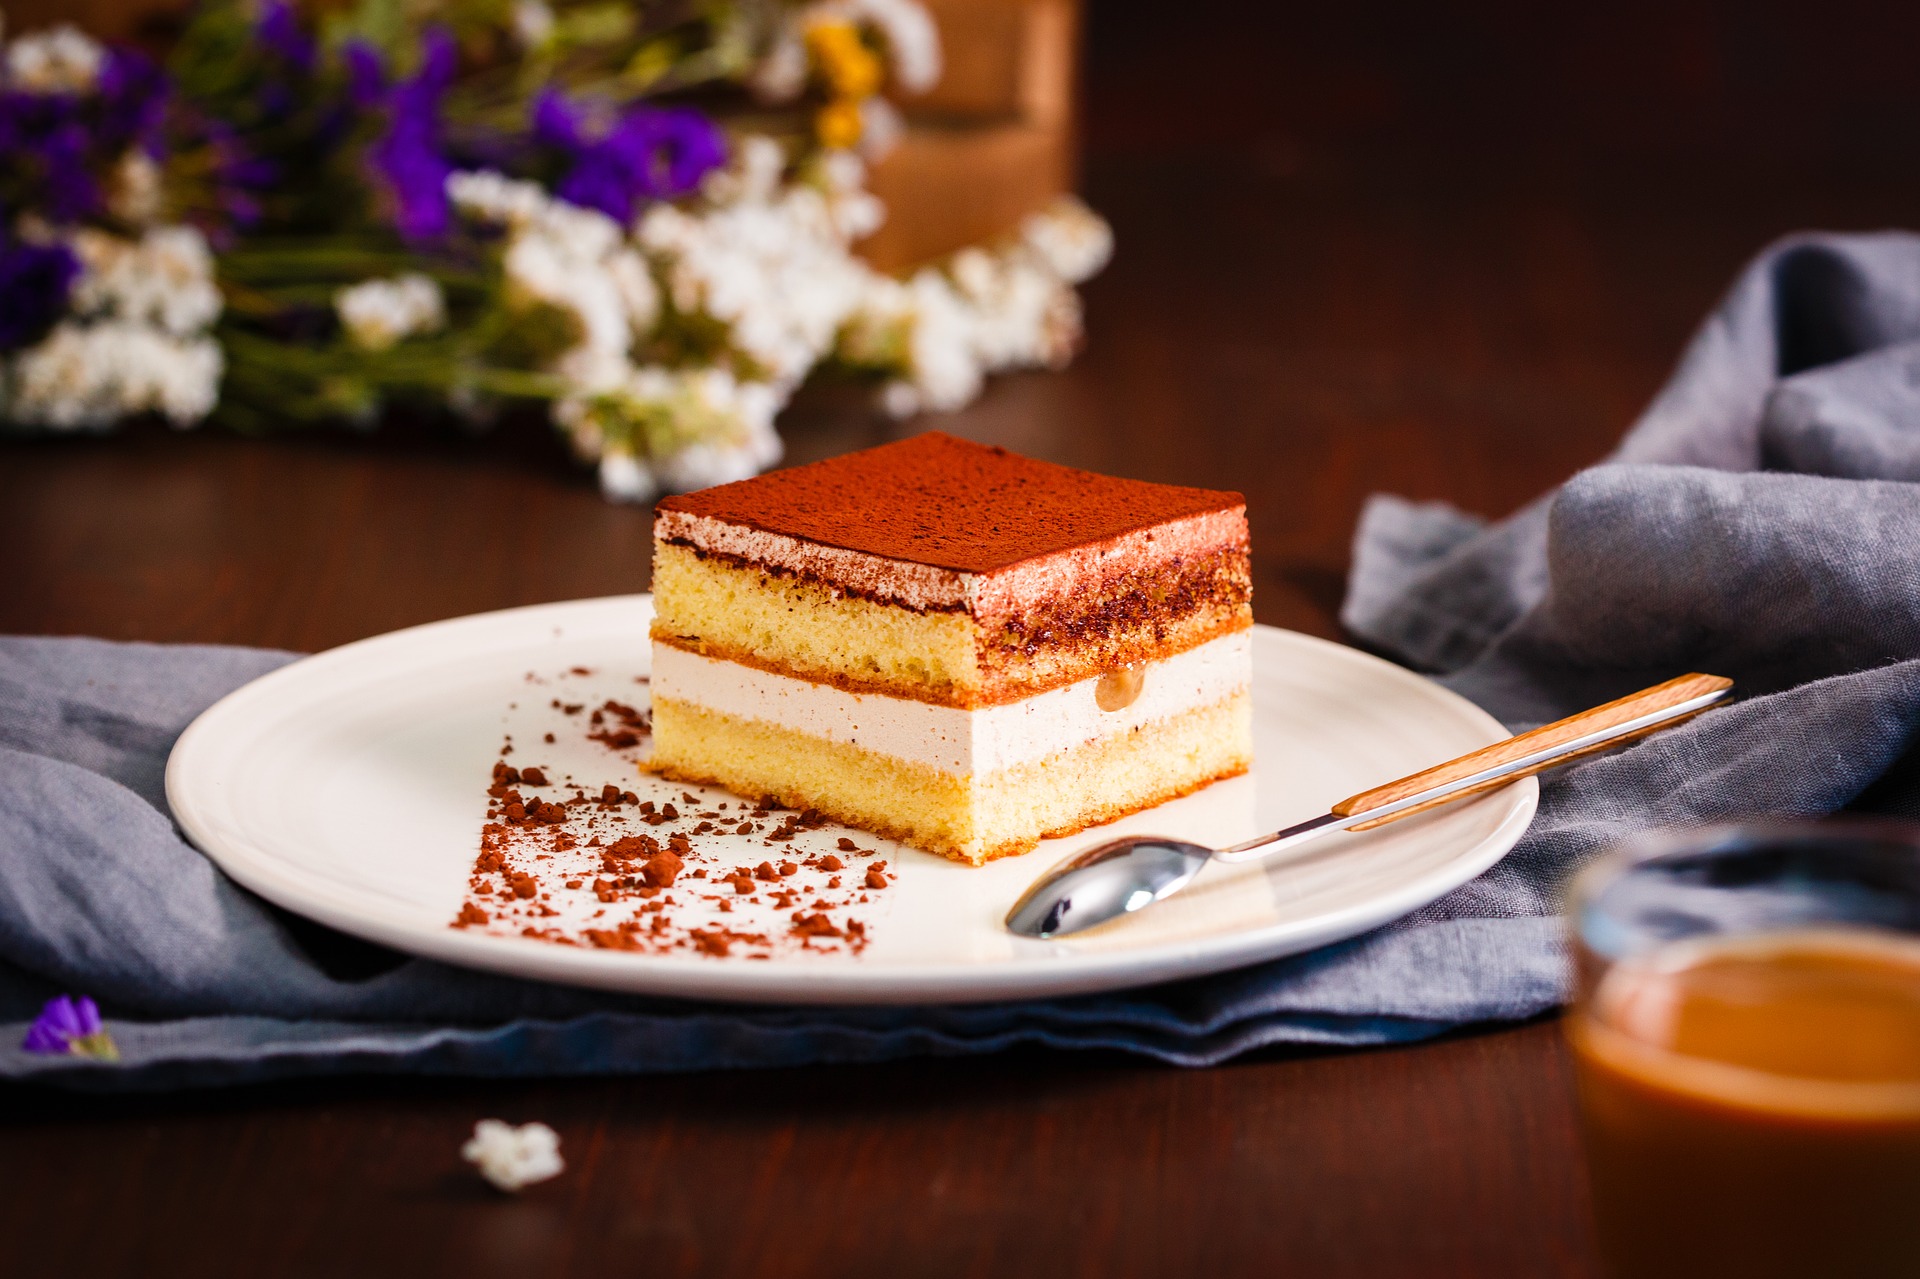
Complete this challenge that asks you to style a web page about desserts.
Student Instructions
::: details [What colors can I use in CSS?] CSS includes most common color names (red, blue, green, etc.), and many uncommon ones. You can see a full list of CSS color names at W3Schools - HTML Color Names. You can still use colors that are not included in the named list, but you will need to use their RGB values. You can read more about using colors in CSS at W3Schools - CSS Legal Color Values :::
::: details [How does the code work?] Here is the code that is making the image borders:
img {
  border-color: saddlebrown;
  border-width: 4px;
  border-style: solid;
  border-radius: 10px;
}
imgis the selector. It specifies which elements will have to follow the rules inside the curly braces, in this case, the images.border-color: saddlebrown;,border-width: 4px;,border-style: solid;, andborder-radius: 10px;are the rules that make the border. :::
::: details [What does the border-style property do?]
The border-style property determines what kind of border (solid, dotted, etc.) the element has. You can read more about this property at W3Schools - CSS border-style Property
:::
::: details [What does the border-radius property do?]
The border-radius property determines the radius of the curves at the corners of the element. A bigger radius makes a bigger, softer curve, and a smaller radius makes a smaller, sharper curve. A radius of zero makes a regular corner. You can read more about this property at W3Schools - CSS3 border-radius property
:::
::: details [What does the float property do?]
The float property makes an element "float", meaning that the elements that come after it all flow around it. If the float value is left, the element will float to the left, and the elements after it will show up on its right. If the float value is right, the element will float to the right, and the elements after it will show up on its left. You can read more about this property at W3Schools - CSS float Property
:::
Borders
- Find the rules in the style sheet that set image borders color and width.
- Change the color and width of your borders.
- Try out some different border styles.
- Choose from
dotted,dashed,solid, anddouble - Put a border on another type of page element, such as one of the headings or the paragraphs.
Student Instructions
::: details [How does the code work?] Here is the code that is making the image borders:
img {
  border-color: saddlebrown;
  border-width: 4px;
  border-style: solid;
  border-radius: 10px;
}
imgis the selector. It specifies which elements will have to follow the rules inside the curly braces, in this case, the images.border-color: saddlebrown;,border-width: 4px;,border-style: solid;, andborder-radius: 10px;are the rules that make the border. :::
::: details [What does the border-style property do?]
The border-style property determines what kind of border (solid, dotted, etc.) the element has. You can read more about this property at W3Schools - CSS border-style Property
:::
::: details [What does the border-radius property do?]
The border-radius property determines the radius of the curves at the corners of the element. A bigger radius makes a bigger, softer curve, and a smaller radius makes a smaller, sharper curve. A radius of zero makes a regular corner. You can read more about this property at W3Schools - CSS3 border-radius property
:::
::: details [What does the float property do?]
The float property makes an element "float", meaning that the elements that come after it all flow around it. If the float value is left, the element will float to the left, and the elements after it will show up on its right. If the float value is right, the element will float to the right, and the elements after it will show up on its left. You can read more about this property at W3Schools - CSS float Property
:::
Border Radius
- Look at the
border-radiusproperty inside yourimgrule-set - Discuss with your partner what you think the property does.
- Try different values for border radius and decide which one you like the best.
Student Instructions
::: details [How does the code work?] Here is the code that is putting extra space around the images:
img {
    margin: 10px;
}
-
imgis the selector. It specifies which elements will have to follow the rules inside the curly braces, in this case, the images. -
margin: 10px;is the rule that puts 10 pixels of space around the image. :::
::: details [What does the margin property do?]
The margin property determines how much space will be around the image. Most of the time, you will define in the margin in pixels. You can read more about this property at W3Schools - CSS margin Property
:::
::: details [What does px mean / What is a pixel?]
Pixel, which is abbreviated px, is how elements are measured in CSS. It’s the size of a single point of light on the screen.
:::
Margin
Margins specify how much space should be around an element.
Student Instructions
Background Image
The background of an element can be set to any image that you would like! Just like when inserting a photo, you can use the image's url name. Find the property in the style sheet that controls the background image. Change the image to one of your choice.
Student Instructions
Challenge: Style Animal Web Page
A basic web page about endangered animal species has been provided for you. Complete these challenges to add style to it: Create a background color or image for the page. Make the images have a consistent height or width. Give each heading unique styles: font family, color, size, decoration, etc. Float all the images to the left. Put a margin and green border around the images. Add any other style or content to customize the page!
Student Instructions
Challenge: Style Dessert Web Page
A basic web page about desserts has been provided for you. Complete these challenges to add style to it: Create a background color or image for the page. Fix heading sizes so it looks better. Give each heading unique styles: font family, color, size, decoration, etc. Round the edges of the images. Add another dessert with a description and image (give proper citation!). Add any other style or content to customize the page!
Standards Alignment
View full course alignment
CSTA K-12 Computer Science Standards (2017)
AP - Algorithms & Programming
- 2-AP-16 - Incorporate existing code, media, and libraries into original programs, and give attribution.
- 2-AP-19 - Document programs in order to make them easier to follow, test, and debug.